CLI Setup
Get started with the Fiberwise CLI to deploy and manage your apps from the command line.
Overview
The Fiberwise CLI is the essential command-line interface that connects your development environment with the Fiberwise platform. It provides a complete toolkit for managing AI agents, deploying applications, and orchestrating workflows across different environments.
🛠️ Core Capabilities
- Deploy and manage AI agents and applications
- Configure LLM providers and API keys
- Set up OAuth authenticators for third-party integrations
- Manage environments (local, staging, production)
- Execute functions and pipelines
✨ Key Benefits
- Unified Interface: Single tool for all Fiberwise operations
- Multi-Environment: Seamlessly switch between instances
- Secure Authentication: API key-based secure access
- Developer Friendly: Intuitive commands and helpful feedback
API Key Setup
Your CLI authenticates with Fiberwise using API keys. Follow these steps to create and configure your API key.
🔑 Creating Your API Key
- Log into your Fiberwise instance web dashboard
- Navigate to Settings → API Keys
- Give it a descriptive name (e.g., "Development CLI")
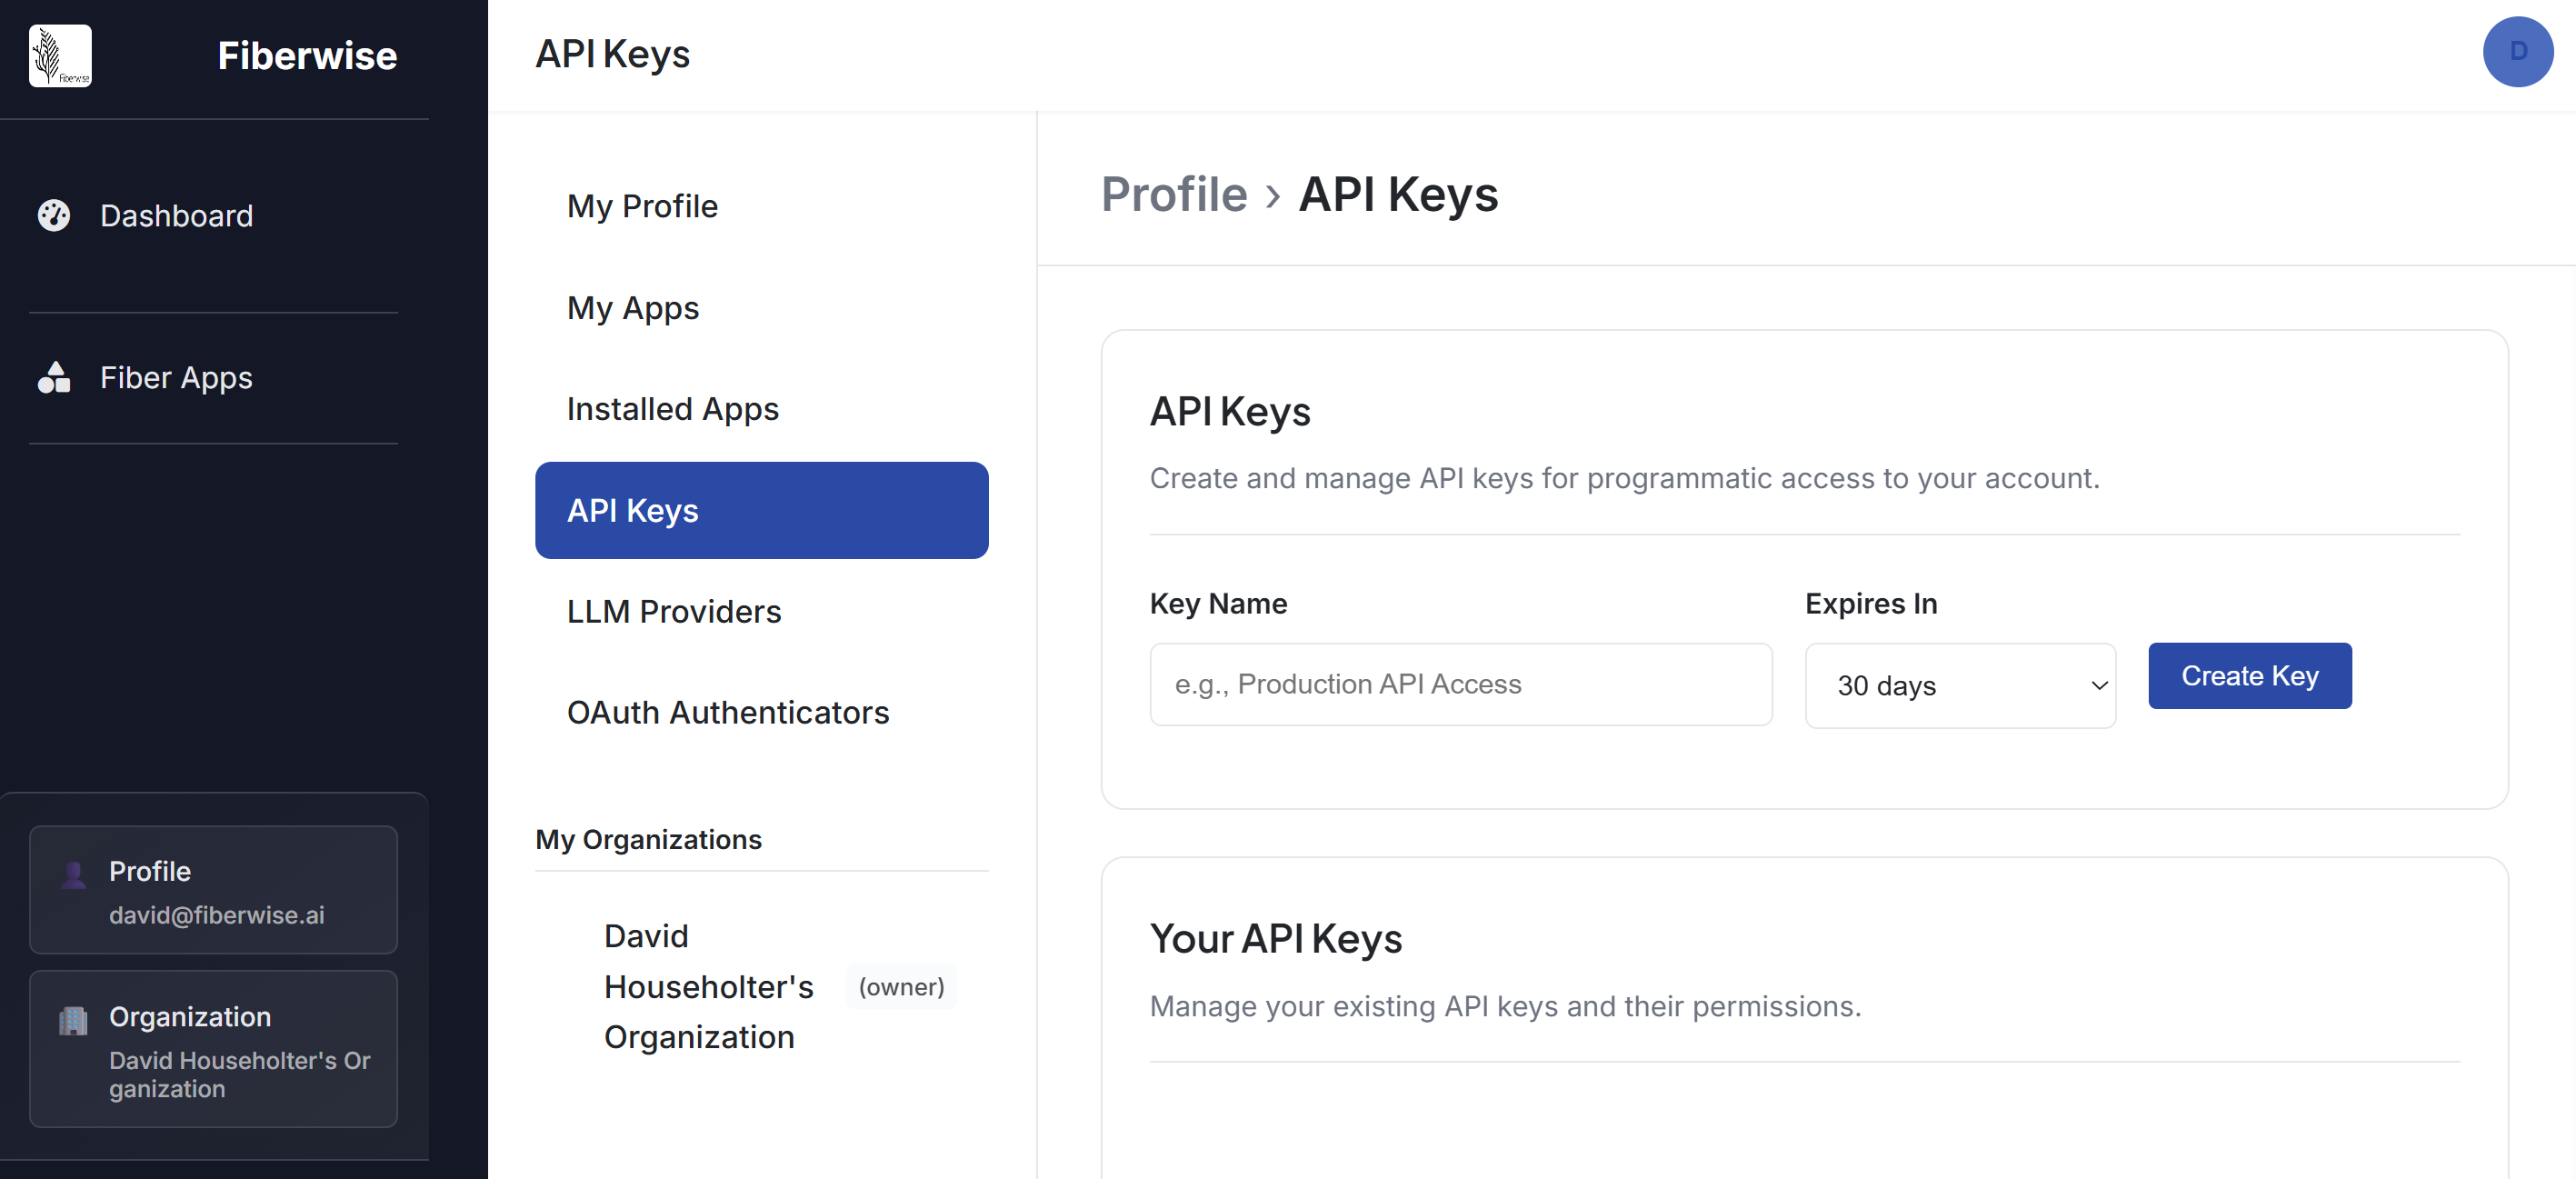
- Click "Create New API Key"
- Copy the generated API key immediately

⚠️ Important: Store your API key securely. It won't be shown again after creation.
CLI Configuration
Configure the CLI with your instance details and API key using the fiber account add-config command.
Adding a Configuration Profile
fiber account add-config \
  --name "production" \
  --api-key "your-api-key-here" \
  --base-url "https://your-instance.fiberwise.ai" \
  --set-default
Command Options:
Configuration Storage
CLI configurations are stored in:
- Configuration files:
~/.fiberwise/configs/{name}.json - Default profile:
~/.fiberwise/default_config.txt
Multiple Environments
You can configure multiple environments (development, staging, production) and switch between them.
Setting Up Multiple Profiles
# Development environment
fiber account add-config \
  --name "development" \
  --api-key "dev-api-key" \
  --base-url "http://localhost:5757"

# Staging environment
fiber account add-config \
  --name "staging" \
  --api-key "staging-api-key" \
  --base-url "https://staging.yourcompany.com"

# Production environment
fiber account add-config \
  --name "production" \
  --api-key "prod-api-key" \
  --base-url "https://api.yourcompany.com" \
  --set-default
Using Specific Configurations
Target specific environments when deploying:
# Deploy to specific environment
fiberwise deploy --to-instance development

# Deploy to staging
fiberwise deploy --to-instance staging

# Deploy to default (production)
fiberwise deploy
Next Steps
Now that you have the Fiberwise CLI installed and configured, here's what to do next: